|
This article has been clipped from The Camera Store Newsletter for your information . Click here to see original article
|
Infrared Photography, Part 1
Posted on June 26, 2017 4:00 PM by Ron May
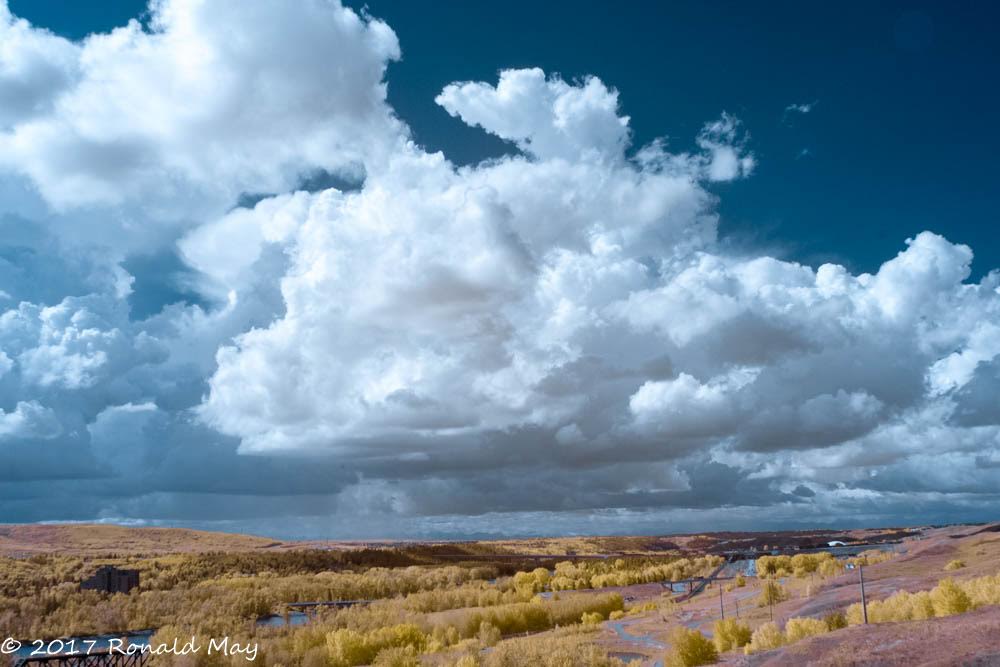
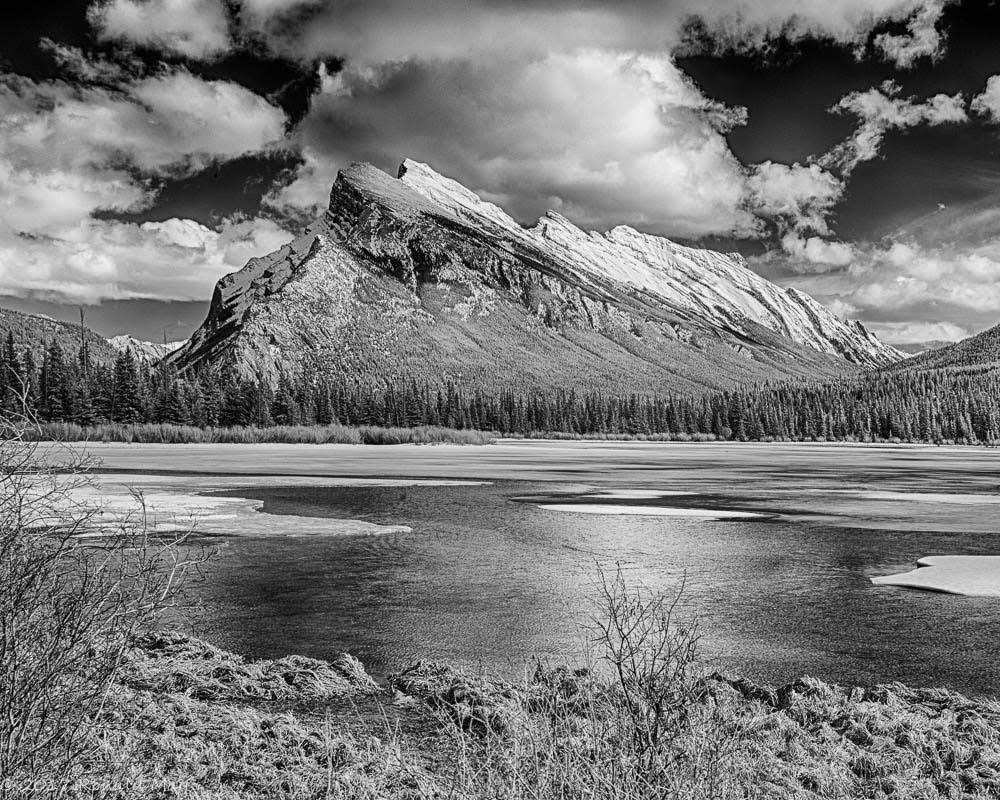
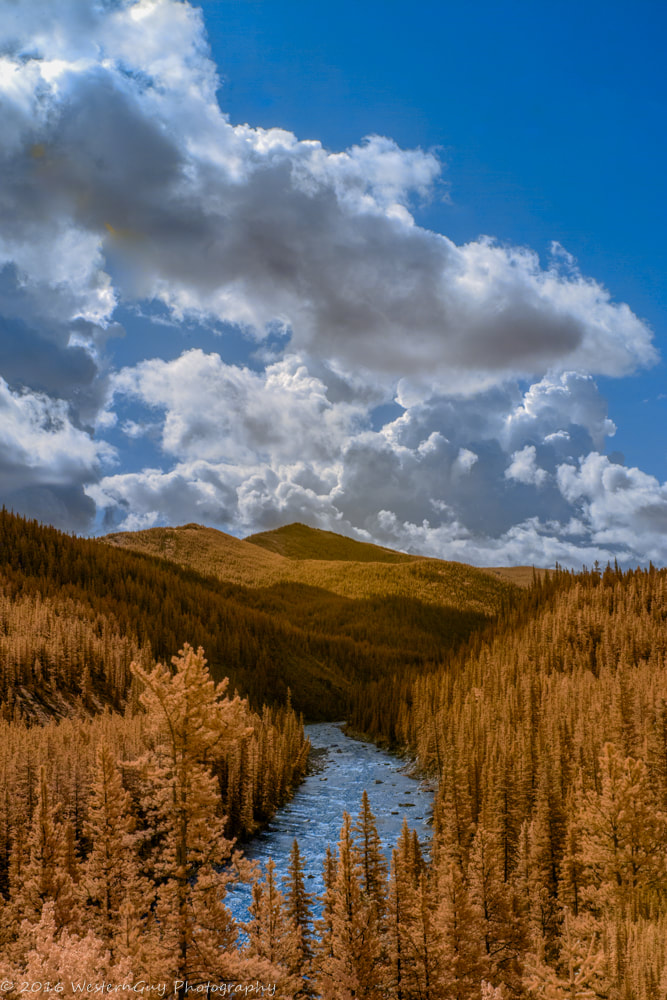
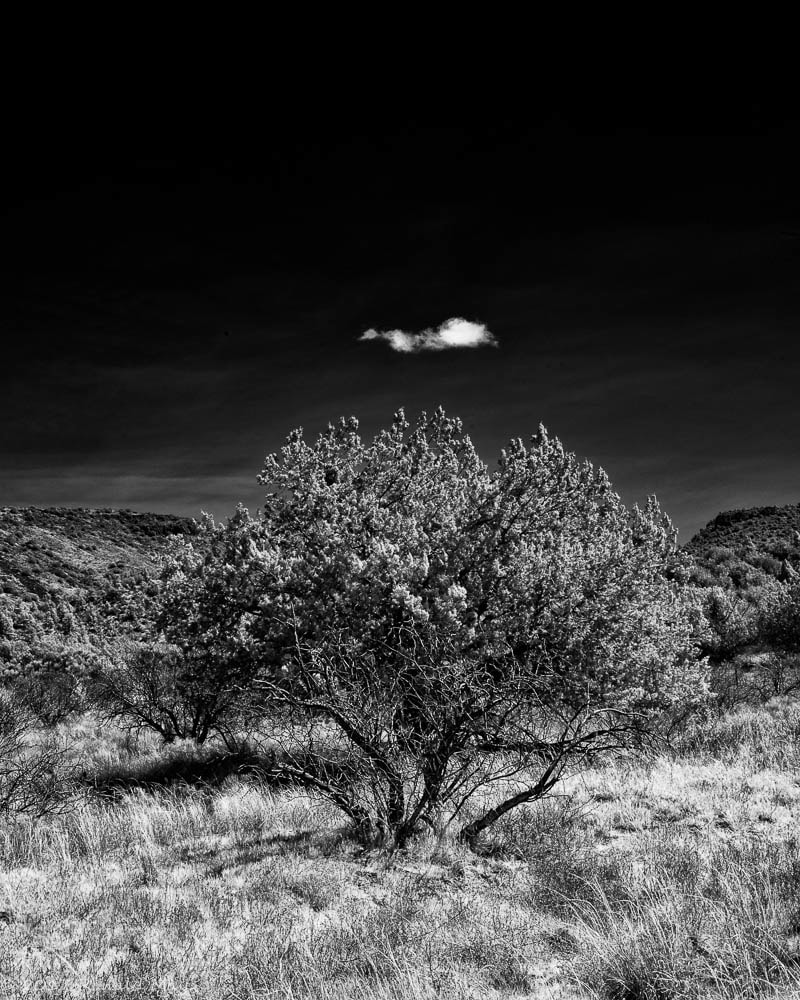
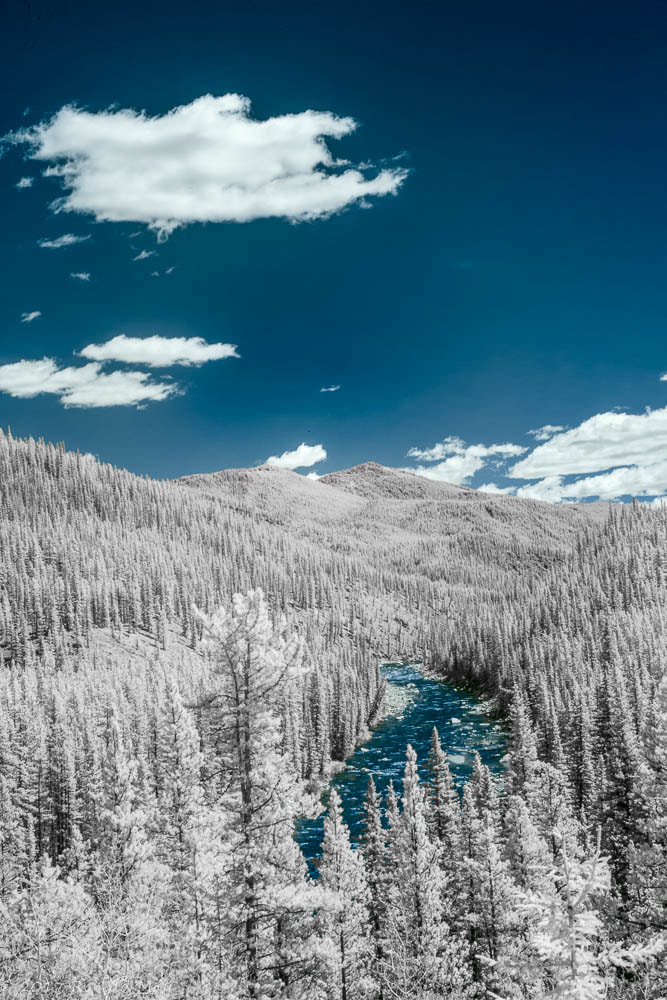
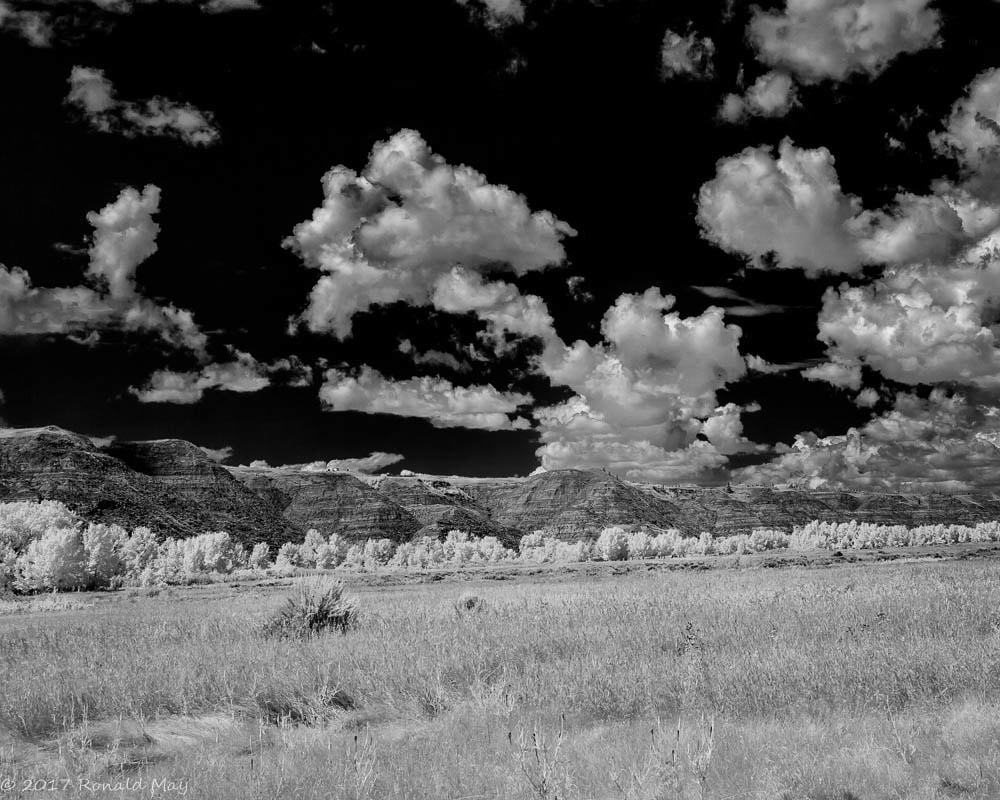
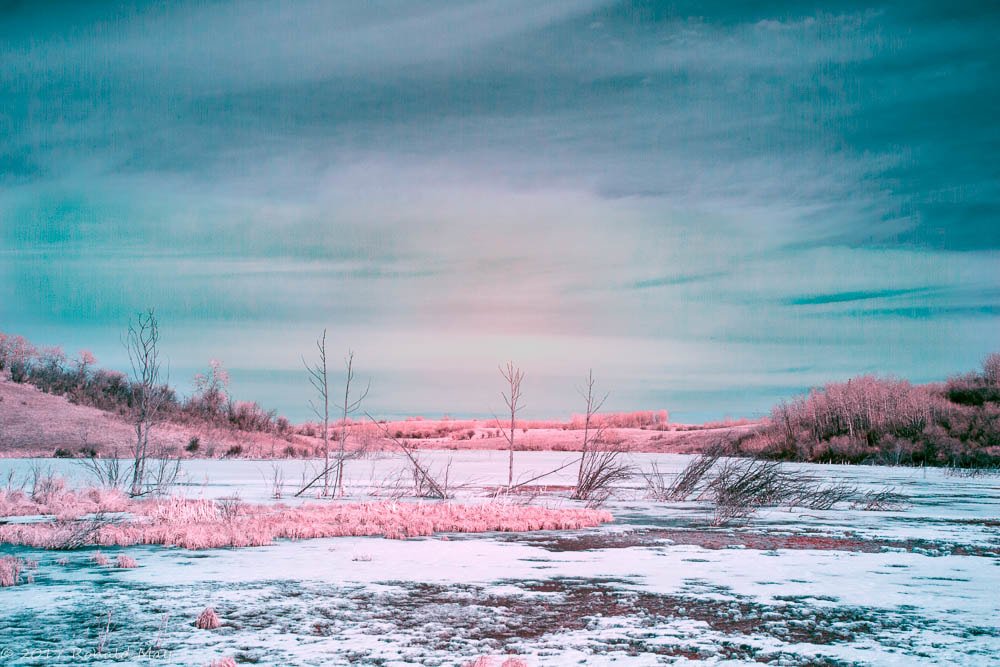
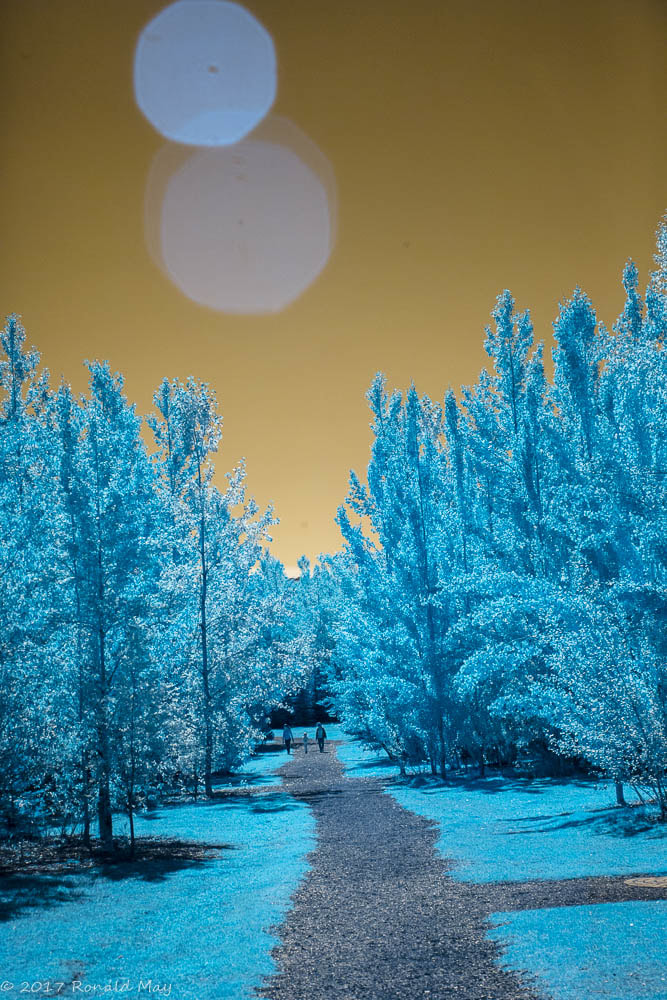
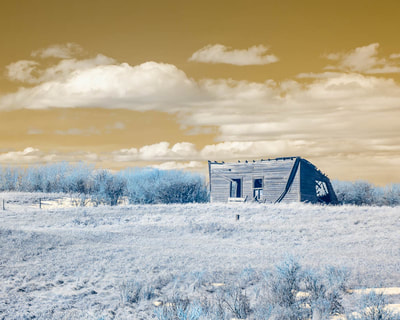
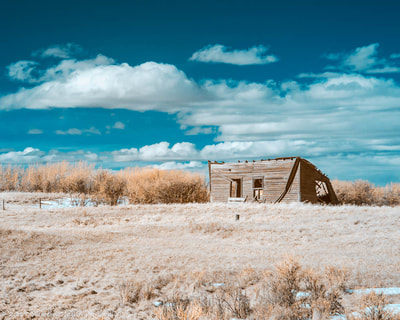
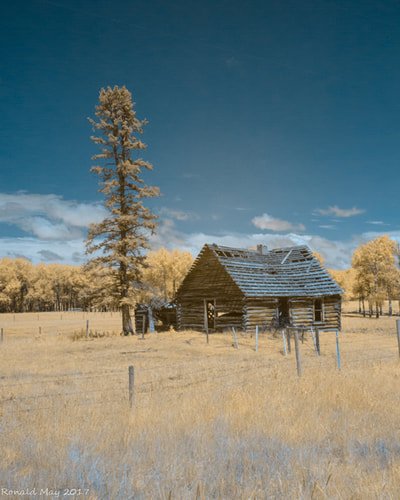
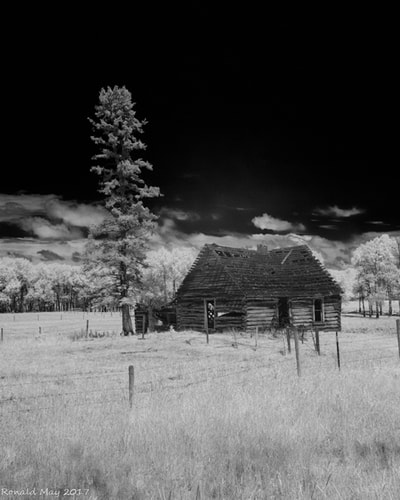
The advent of digital photography, and the software that has accompanied this development, has opened up realms of possibilities to the average photographer that were not readily accessible in the good, old days of film. One of these areas is infrared (IR) photography. It is a world of unseen light, as no one knows how it looks. The photographer can create landscape images that have blue skies and golden vegetation, as in the first image in this post, to dark, black and white images, the second image, and almost everything in between, as in the last image below.
In the days of film, you had to have special IR sensitive film, which was expensive when compared to the cost of regular film, an IR filter, a tripod, a remote shutter control, and patience. You had to ensure that the image was properly focused before placing the filter on the lens and you had to be very careful in this part of the operation because if you moved the lens, then you had to remove the filter, refocus the lens, and replace the filter, because you couldn’t see through it. Exposures were measured in seconds and you hoped that what you captured was what you were looking for. When fully exposed, you had to send the film away to a special lab for processing, unless you had the skills and equipment to do your own processing. For those interested, more details on the use of film in IR photography can be found here.
With digital cameras the process has been made much simpler. The filter that sits in front of the sensor that removes IR light can be removed and replaced with one that passes IR light and removes most, or all, of the visible light. The camera can then be used to capture images the same way a regular digital camera does. Post processing of digital IR images is a little different than that of regular colour images and will be covered in a later article.
With digital cameras the process has been made much simpler. The filter that sits in front of the sensor that removes IR light can be removed and replaced with one that passes IR light and removes most, or all, of the visible light. The camera can then be used to capture images the same way a regular digital camera does. Post processing of digital IR images is a little different than that of regular colour images and will be covered in a later article.
So, why IR photography? It gives photographers the opportunity to explore the world of unseen light. Light, visible or invisible, is part of the electromagnetic spectrum and its properties are determined by wavelength. Visible light has a wavelength of about 400 to 700 nanometers (billionths of a meter and abbreviated nm). Violet light is found around the 400nm wavelength and red light is found around the 700nm wavelength. IR light starts around 700nm and goes up to about 1200nm. None of this light is visible to the human eye without help (e.g., with night vision goggles). IR light is often divided into near IR, mid-IR and far IR, and IR photography is confined to the near IR spectrum, roughly 700 to 900nm. Most companies offering IR conversions for digital cameras will offer a choice of replacement filters that cover this range. However, only one filter can be used in a single camera. If you want the option of using more than one filter you will probably need to have more than one camera converted, although this can sometimes be circumvented with software. I will cover more about this in an upcoming article.
This is the first of four articles on infrared photography. You can read part two next
This is the first of four articles on infrared photography. You can read part two next
Infrared Photography, Part 2
Posted on July 3, 2017 1:00 PM by Ron MayThere are basically two ways to capture infrared images with a digital camera. The first uses an appropriate filter on the camera lens, and the second requires the camera to be converted to a given IR wavelength. Regardless of how you choose to do it, all colours rendered by an infrared image are termed false colours as they represent an interpretation of the different absorption and reflection of infrared light falling on the subjects in the photograph.
Using Filters
Prior to digital cameras, the only way to capture an IR image was to use a filter on the camera lens. Filters can also be used today on digital cameras. For example, an R72 filter blocks all light up to 720nm, allowing IR light to pass to the camera’s film or sensor.
Most digital camera manufacturers place a filter in front of the sensor that absorbs a significant amount of the IR light that passes through the lens, thus using an IR filter necessitates long exposure times, often on the order of tens of seconds. Some cameras are totally unsuitable for IR photography using filters, because the blocking filter in front of the sensor has become extremely efficient at removing IR light. If you are shooting with a filter, then you will need a tripod and a cable release as well.
Camera Conversions
The other approach is to convert a camera to only capture IR light. The main disadvantage to this is that the camera will only shoot images at the wavelength of the conversion. The main advantage is that images can be captured in the same way a regular DSLR does: hand-held, or on a tripod. The following describe the options for camera conversions.
590nm – Super (Ultra) Colour – This filter allows some of the visible light to pass through it and can give interesting foliage and sky colours. Swapping the red and blue channels in Photoshop gives the foliage a golden colour and the sky a very nice blue tone, as seen in the first image in this post. This IR filter can also provide good black and white images, particularly if you want full control of post processing and like to experiment with your conversion software, like that in the second image. This filter is a common choice of many photographers, including me.
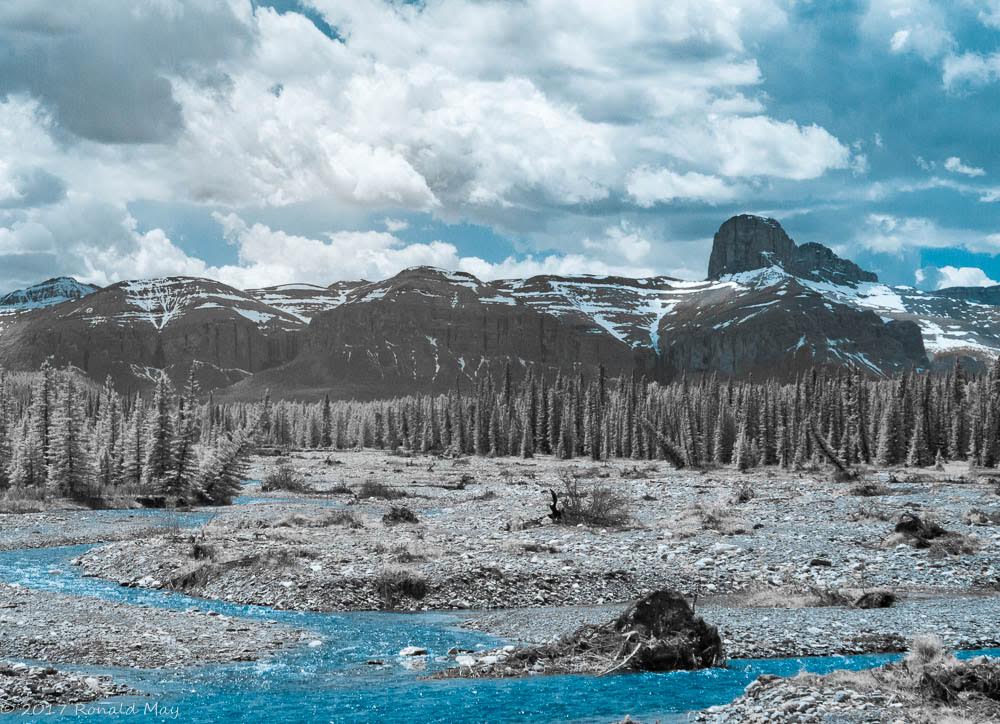
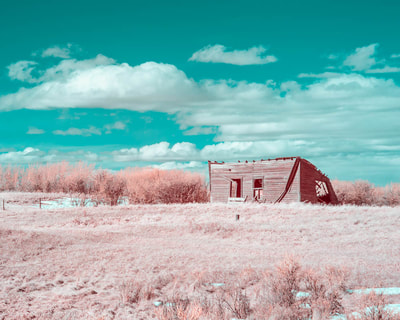
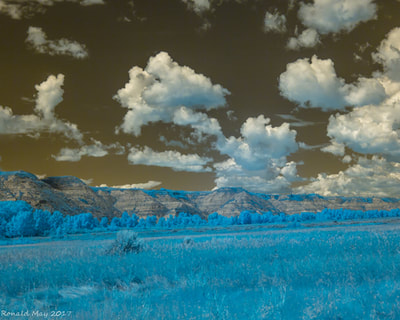
665nm – Enhanced (Extra) Colour – This filter allows some of the visible colour to pass and will yield false colour IR photographs, although the colour and saturation range is not as great as that provided by the 590nm filter. Black and white images are similar to those of the 590nm filter, but may require a bit more experimentation to get the effect you are looking for.720nm – Standard Infrared - It is considered a good, all around infrared filter choice. Colour infrared is possible, although the images are not as saturated as from the 665nm filter, and only the blue sky effect is possible, as seen in the third image on this post. Black and white IR images have good tonal range.
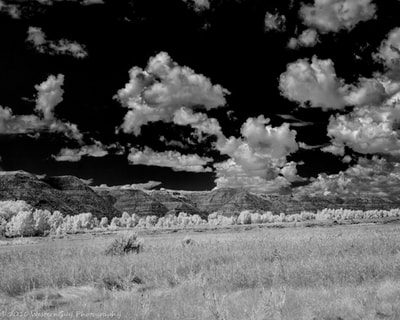
830nm - Deep Black and White - With this filter the image is captured in black and white straight out of the camera, as in the last image in this article. There is no need to manipulate in software unless you want to fine tune the black and white look. This is a strong filter producing the darkest sky and whitest foliage.
A more detailed treatment of these filters and illustrations for each can be found here.
Infrared Photography, Part 3Posted on July 10, 2017 1:00 PM by Ron May
Now I have the image, what else do I need to think about?
Some Considerations:
The first of these is white balance – how to set it and why. The others are artefacts of the image capture process – hot spots and lens flare. These usually need to be tackled before any post-processing. If they aren’t present, then you won’t have to worry about them.
White Balance (WB):
Good white balance is necessary to ensure that you get the colours you want, even in IR photography. Setting automatic white balance for infrared imagery is a little different than setting it for conventional digital imagery. While there is considerable discussion on the web about setting AWB for IR images, the use of green grass, or a similar bright green subject, seems to be an accepted approach. I use green grass, but you may have to experiment for yourself to determine what works for you. One of the many discussions on AWB in IR photography can be found in the first part of this article.
WB and Camera Profile:
Another aspect of post processing and WB considerations is to develop a custom camera profile. Lightroom and Adobe Camera Raw do not handle WB well in converted cameras, so a custom camera profile may be required. The details of how this is done are covered in a number of websites such as Luminescent Photo.
Hot Spots and Lens Flare
A ”hot spot” is defined as an area in an image (usually the centre) that is lighter or brighter than its surroundings. You can see this in the first image of this post. Details of dealing with these can be found here. For those interested, Kolari Vision has published a database of lenses susceptible to hot spots.
Lens flare, as seen in the second image here, tends to be more prevalent with IR light as the coatings on the optics, intended for visible light, do not work as well with IR light. Shooting away from sources of bright light, such as the sun, or using a lens hood, can reduce or eliminate flare. It can also be eliminated in software using a cloning process.
The best way for “processing” these that I have found is to try and avoid them all together.
Channel Swapping
Assuming that you have resolved any situations with WB, hot spots, or lens flare, then the next choice is whether you want to develop your image in false colour, or render it as a black and white one. I will deal with black and white conversions in the next article, but, for now, give an over view of one approach to false colour imagery.
The post processing of an image into false colour is best done with those from 590nm (used in this example) and 635nm filters, although it can be done with 720nm, but not to the same extent. The image, as seen below on the far left, is taken into Photoshop and then processed - Image>Adjustments>Channel Mixer. The Red and Blue channels are exchanged giving a false colour rendering of the image (the centre picture). Because the sky was a little green in the Channel Swapped image, further adjustments can be done with Levels and Hue/Saturation/Lightness and any other adjustments that you feel can enhance the image (final image, on the right).
Details of one particular workflow can be found in Chris Swarbrick’s article here.
Infrared Photography, Part 4Posted on July 17, 2017 12:00 PM by Ron May
Black and White Image Processing
Only 590nm, 630nm and 720nm images can be converted to black and white, as the 830nm images are already black and white. The conversion of an IR image to black and white can be done anywhere in the “colour processing” work flow. While I have tried this conversion from the initial image that has gone through camera profile conversion In Lightroom as well as a false colour image produced from a channel swap and other adjustments in Photoshop, I much prefer starting with a false colour image. This gives me more freedom to deal with the individual false colours compared to those seen in a simple initial converted image. Good black and white images have a broad tonal range and good, deep blacks, which I find can be produced much better from a false colour image.
The workflow for converting a false colour image to black and white is very similar to that for a regular colour image. There are a number of software products to choose from including Lightroom, Photoshop, Nik’s Silver Efex Pro 2, Topaz B&W Effects, and On1 Photo Raw. I would encourage you to experiment with whatever products you have at your disposal. Be aware that what may work in one situation may not produce acceptable results for you, as an artist, in other situations.
The first image here is a false colour image of an old settlement cabin and the second image is its rendering in black and white using Nik’s Silver Efex Pro 2. In the conversion, I used the blue filter to darken the sky to make the clouds stand out. The third image is an IR image that has been converted using a camera profile and the fourth is a black and white conversion of the same image using SEP2. There is not much difference between the two black and white conversions in the way the sky was rendered.
Thoughts on Composition
The “rules” and elements of composition for IR images are very similar to those for standard colour images, however, you must consider how the false colours affect your composition and how it changes the appearance of components within your image. Placement of objects using the “rule of thirds” does not change in IR images, nor does the use of lines and curves to draw the viewer’s eye through the image, unless these are influenced by the false colours in the image. However, the colour and texture of patterns may change based on their reflection of IR light in the scene. They may not contribute the same “essence” to the image that they did in regular situations.Subjects for Infrared Photography
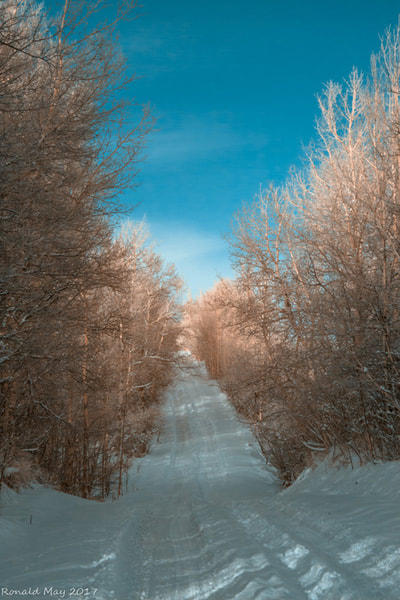
Just about any subject that can be captured using a standard camera, can be captured using IR photography. Landscapes are my favourite (as in the first image), particularly, when the post-processing involves a channel swap and other adjustments, giving a nice blue sky and golden foliage. Subjects such as flowers, water, standing or running, and people are but a few of those captured by IR photographers. You can even take IR images in winter as shown in the final image of this post.
Closing Thoughts
This series of four articles has been intended as a very brief over view of IR photography. Being able to see images in the “unseen” light has opened up a new world of photography for me because the idea of taking images of the unseen appeals to me as an artist. For those interested in a bit more detail, I leave you with this sequence of relevant websites.
This is the fourth and final article in a series on infrared photography.
